
Dear Sports Fan,
How does a wrist shot work in ice hockey? Can you describe how it works and when or why a player would choose to use it?
Thanks,
Greg
Dear Greg,
There are three main kinds of shots in ice hockey: the slap shot, the snap shot, and the wrist shot. Each shot has its own technique and is distinguishable when watching hockey on TV or in person. Each shot has advantages and disadvantages and is appropriate for different situations. In this post, we’ll describe the wrist shot. You’ll learn how to identify it when you see it, when and what it’s used for, and even how to do it if you find yourself with a hockey stick in your hands.
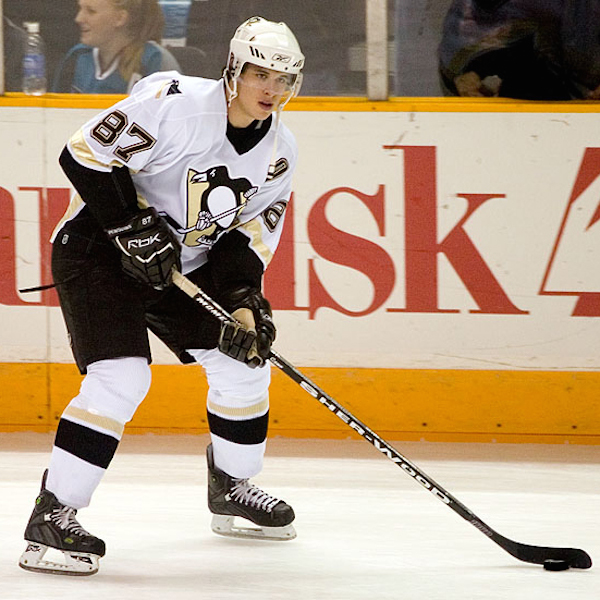
The wrist shot is the quiet killer in hockey. Although it’s no longer the most common shot in hockey, it still has a lot of advantages over its more bombastic cousins, the slap shot and snap shot. It’s easy to identify a wrist shot because it’s usually the one you don’t see! For a professional player, the transition between simply skating with the puck and taking a wrist shot is seamless to the point of invisibility. If you look closely, you may notice a player position the puck slightly farther out to the side or even slightly behind them right before they move into the wrist shot motion. From this position, the player flicks the puck forward in a single, smooth motion.
Most of the power of a wrist shot comes from a shift in weight from one leg to the other – the leg farthest from the goal to the one closest – that’s also neigh impossible to see. In the follow through after the shot, a player’s stick may come up to about waist-high. The puck moves fluidly throughout a wrist shot from being on the ice but not in touch with the stick, to touching the tip of the stick, to sliding backwards along the blade. The puck will slide back on the blade only to around the midpoint of the curve, at which point, the players movement begins to sling-shot the puck forward. It’s called a wrist shot because a player’s lower hand will turn over during the shot, using the wrist to flick the puck at toward the goal. Take a look at NHL player Alex Steen score on a wrist shot here:
The biggest advantage of the wrist shot is that goalies and defenders have as hard a time identifying one as we do in the audience. A wrist shot gets the puck moving towards the net with no fanfare. Although it’s the slowest of the three major shots in the air, the suddenness with which a hockey player can take a wrist shot often makes it the best option. It also requires very little commitment from the shooting player. If she sees a teammate in a better position to shoot, it’s relatively easy to change the wrist shot to a pass. If the shot is blocked or the puck stolen, a player who has chosen a wrist shot should be able to recover and play defense with less difficulty than a player who may be off-balance after a slap shot gone wrong. The wrist shot is also the easiest to aim for experts and, because the puck never looses contact with the stick, for beginners as well.
The wrist shot is the easiest shot to practice at home. Take a hockey stick and a tennis ball and find a wall with no windows nearby! Put the tennis ball about two feet to your forehand side (right if you’re right-handed, left if you’re a lefty) and about six inches behind your feet. In a single motion, slide the ball forward, allow it to settle on the middle of the curve of your stick, and then shoot it forward by lifting the stick while turning your bottom wrist quickly up. You should get a nice, fluid shot. If not, it may help to move the ball back and forward a bit while it’s at your side and start the motion at the end of a backwards roll. Once you’ve got it down with a tennis ball, try it with a puck. It will be much harder to lift off the ground that way, but it is possible.
Thanks for reading,
Ezra Fischer